10 Step Guide to your BIM Project
At Diane Butterworth Ltd, we understand that BIM can be complex, especially with evolving standards and specific client requirements.Our team is here to demystify Building Information Modelling and support you in navigating these requirements with ease and precision, from authoring compliant manufacturer Revit Families to coordinating specialist contractors’ components in a coordinated environment.
This is our 10 STEP GUIDE to demonstrate how we support you in delivering high-quality, reliable BIM outputs that set your project up for success.
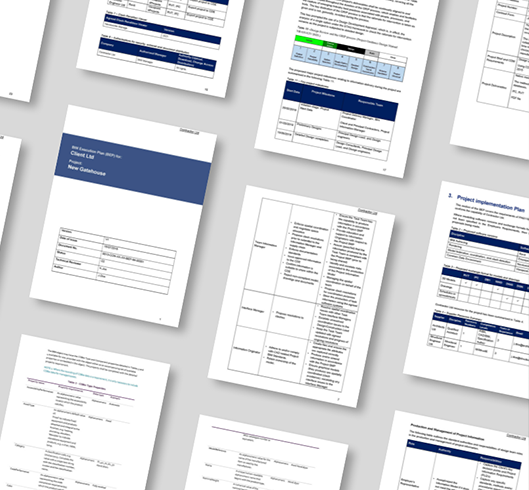
Step 1 - Review the BIM Execution Plan (BEP)
BIM (Building Information Modelling) is a digital representation of the physical and functional aspects of a building, enabling stakeholders to visualise, plan, and execute projects with greater accuracy and collaboration.
When we start working with you, we will review and identify the following:
- The appropriate version of Revit to use and the required level of 3D detail.
- Whether COBie data or other data exports are necessary.
- The common data environments (CDE) and key contractors (architects, structural, MEP).
- The project's overall scope, including coordination and information requirements.
Step 2 - Scope Review
A clear and well-defined project scope ensures all stakeholders are aligned on expectations and objectives, providing a roadmap for the project’s successful execution. This step allows for efficient resource allocation and helps establish realistic timelines based on specific goals.
At this stage, we will aim to:
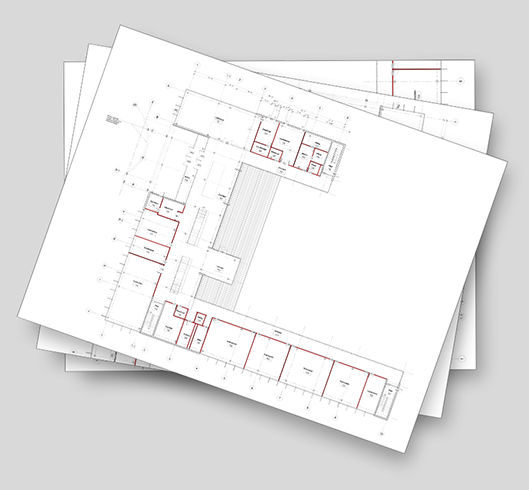
- Receive general arrangement drawings or highlighted plans showing key locations (e.g., partitions or sound masking units).
- Review product specifications, placement requirements, and spacing guidelines.
- Assess the level of detail needed for the project and provide an initial quotation.
Step 3 - Quotation and Time Allowances
Providing a clear, upfront quotation is vital to ensure we’re aligned on the cost and scope from the beginning. This allows you to determine if the project fits within your budget and helps avoid unexpected costs later in the process.
Our quotation will include the following:
A project quotation with clear stages:
- Main modelling phase (first revision of the scope).
- Allowance for revisions (e.g., 20 hours for minor design changes).
- Additional line item for data exporting, if required.
Step 4 – Access to the Project's Common Data Environment (CDE)
To begin our work, we first require access to the project’s Common Data Environment (CDE). Without this access, we cannot download or collaborate on the trade models, as the CDE is where all project data and files are stored and shared.
Additionally, some projects invite us to attend a BIM kickoff meeting. We would be happy to represent your team at this meeting to ensure we’re aligned with the project’s objectives and processes from the start.
Step 5 – Downloading Trade Models
Once we have access to the Common Data Environment (CDE), we can begin downloading native RVT (Revit) files from consultants (architects, structural engineers, MEP) as well as trades that may have potential conflicts with our scope of work.
If native RVT files are not available, we will use IFC (Industry Foundation Classes) files, which are the standard file format used across different software platforms, ensuring compatibility regardless of the tools used.
Once we have all consultant and trade models in a coordinated environment, we can generate CAD drawings directly from the model to assist with your design process.
We can export 2D plans, elevations, and section views from the model to support your in-house designs. For clients without access to BIM software, this ensures that all models and gridlines are presented in a single, unified view. After the designs are approved, we can further develop them in Revit for coordination and data input.
Step 6 - Product Quality Check
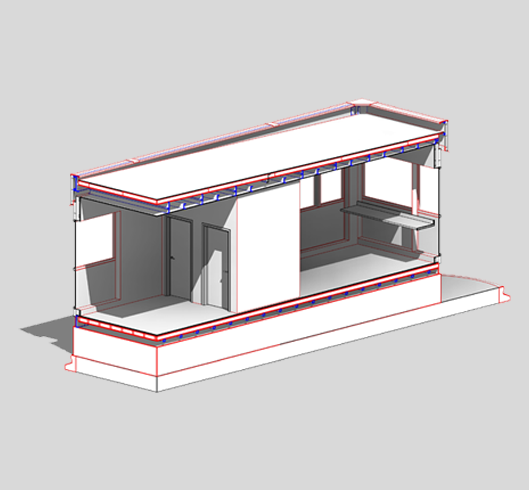
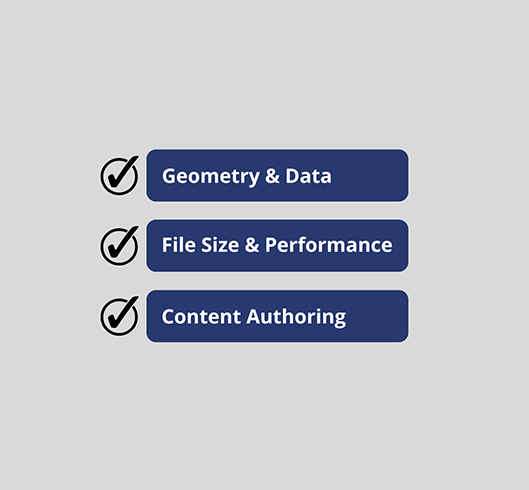
If Revit Families for our client’s components are available, we will review their quality to ensure they meet the necessary standards for accuracy, functionality, and performance within the a BIM environment. The goal is to ensure the families are well-constructed, efficient, and ready for use without causing issues such as performance slowdowns, errors, or conflicts. The following aspects are typically involved in a quality check for Revit families:
- Geometry Accuracy: Verifying that the family’s geometry is correctly modelled, with proper dimensions and alignment. We will also check for unnecessary complexity (e.g., excessive detail or unnecessary geometry) that could negatively impact performance.
- Data Review: Ensuring the family has the correct parameters (e.g., size, material, finish) and is properly configured for easy modification and flexibility. Shared parameters will be used where necessary to maintain consistency across families.
- File Size and Performance: Ensuring the family is not overly large or complex and does not contain external DWG files that could cause performance slowdowns.
- Bespoke Revit Families: It is common for us to create custom Revit families for projects, either because the required content is unavailable or the existing content is too complex for the specific need.
Step 7 - Modelling and Placement
Whether we have modelled brand new Revit Families or we are using already produced files, we will work our way through the planned order of works, placing components in line with product rules, such as distance from gridlines or relationship with other trade components such as a facade. At this point, we ensure:
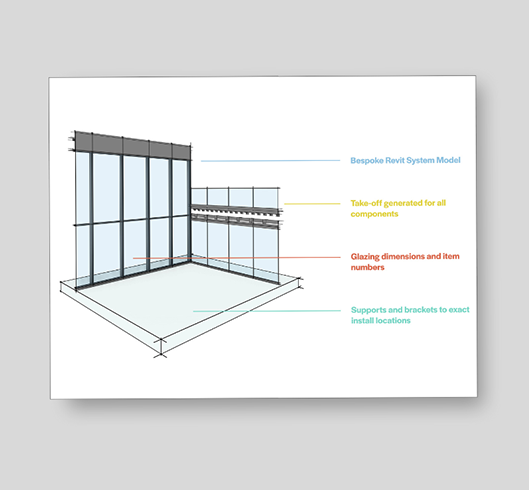
- Using client-provided drawings, we place items in coordinated locations according to the provided rules and scope.
- We run a clash detection and discuss any issues with the client and make amendments to the model before uploading it to CDE.
- We upload models to the CDE as scheduled (weekly or based on work progress) in native Revit, IFC, or Navisworks formats.
- We share models via BIM 360 for client access if needed. This allows clients to view models and run basic clash detection reviews without the need to have Revit Software or clash detection software.
Step 8 - Documentation and Data Export
This stage ensures all project details are clearly shared and ready for construction. Here, the digital model is transformed into key deliverables like drawings, schedules, and material lists, making them accessible to everyone involved. By exporting these from the model, we avoid duplication of CAD work and keep everyone aligned, from the design team to the installers. This step also helps with organisation, ensuring that all documentation is easily updated as the project progresses. At this point, we focus on:
- Exporting elevation views, sections, and 2D plans directly from the model to streamline the process and reduce redundant work.
- Encouraging the use of model-based views rather than creating new 2D AutoCAD drawings. If you prefer to continue working with 2D drawings, we can adapt our services to update models as you develop your 2D plans. We understand that transitioning to BIM can feel like a big step, and we can take small, manageable steps toward full BIM integration.
Step 9 - Coordination and Updates
In this stage, we download the federated model from the Common Data Environment (CDE) and integrate our client’s work-in-progress model to check for clashes. As BIM consultants, we address any issues before the model is uploaded to the CDE. Regular meetings, clear documentation, and shared tools are key to ensuring that the team remains aligned and that any potential issues are identified and resolved early. Our collaborative approach ensures smooth project execution. During this process, we:
- Review any design changes, discuss them with the client, and update the model as needed.
- Attend coordination meetings (weekly, bi-weekly, or as agreed) to ensure continued alignment.
Step 10 - Project Completion and Handover
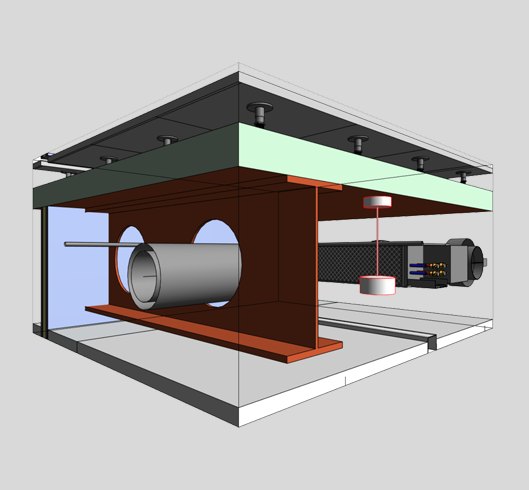
Throughout the technical design, manufacturing, and construction phases (RIBA), the BIM model continues to evolve and is referred to as the Project Information Model (PIM).
Once the project reaches the ‘Handover’ stage, the model is updated with as-built data, details, and locations, becoming the Asset Information Model (AIM).
This is the version of the model, along with the exported data (such as COBie), that is handed over to the main contractors then eventually to the facility manager for use within Facility Management (FM) software.
At project completion and handover, we ensure everything is finalised and ready for transfer to the main contractor, including all BIM files (RVT, IFC, and NWD formats) and any required COBie or other data formats, for the completion of the client’s work.